
Category: Woodworking
-
Skin-on-frame Kayak
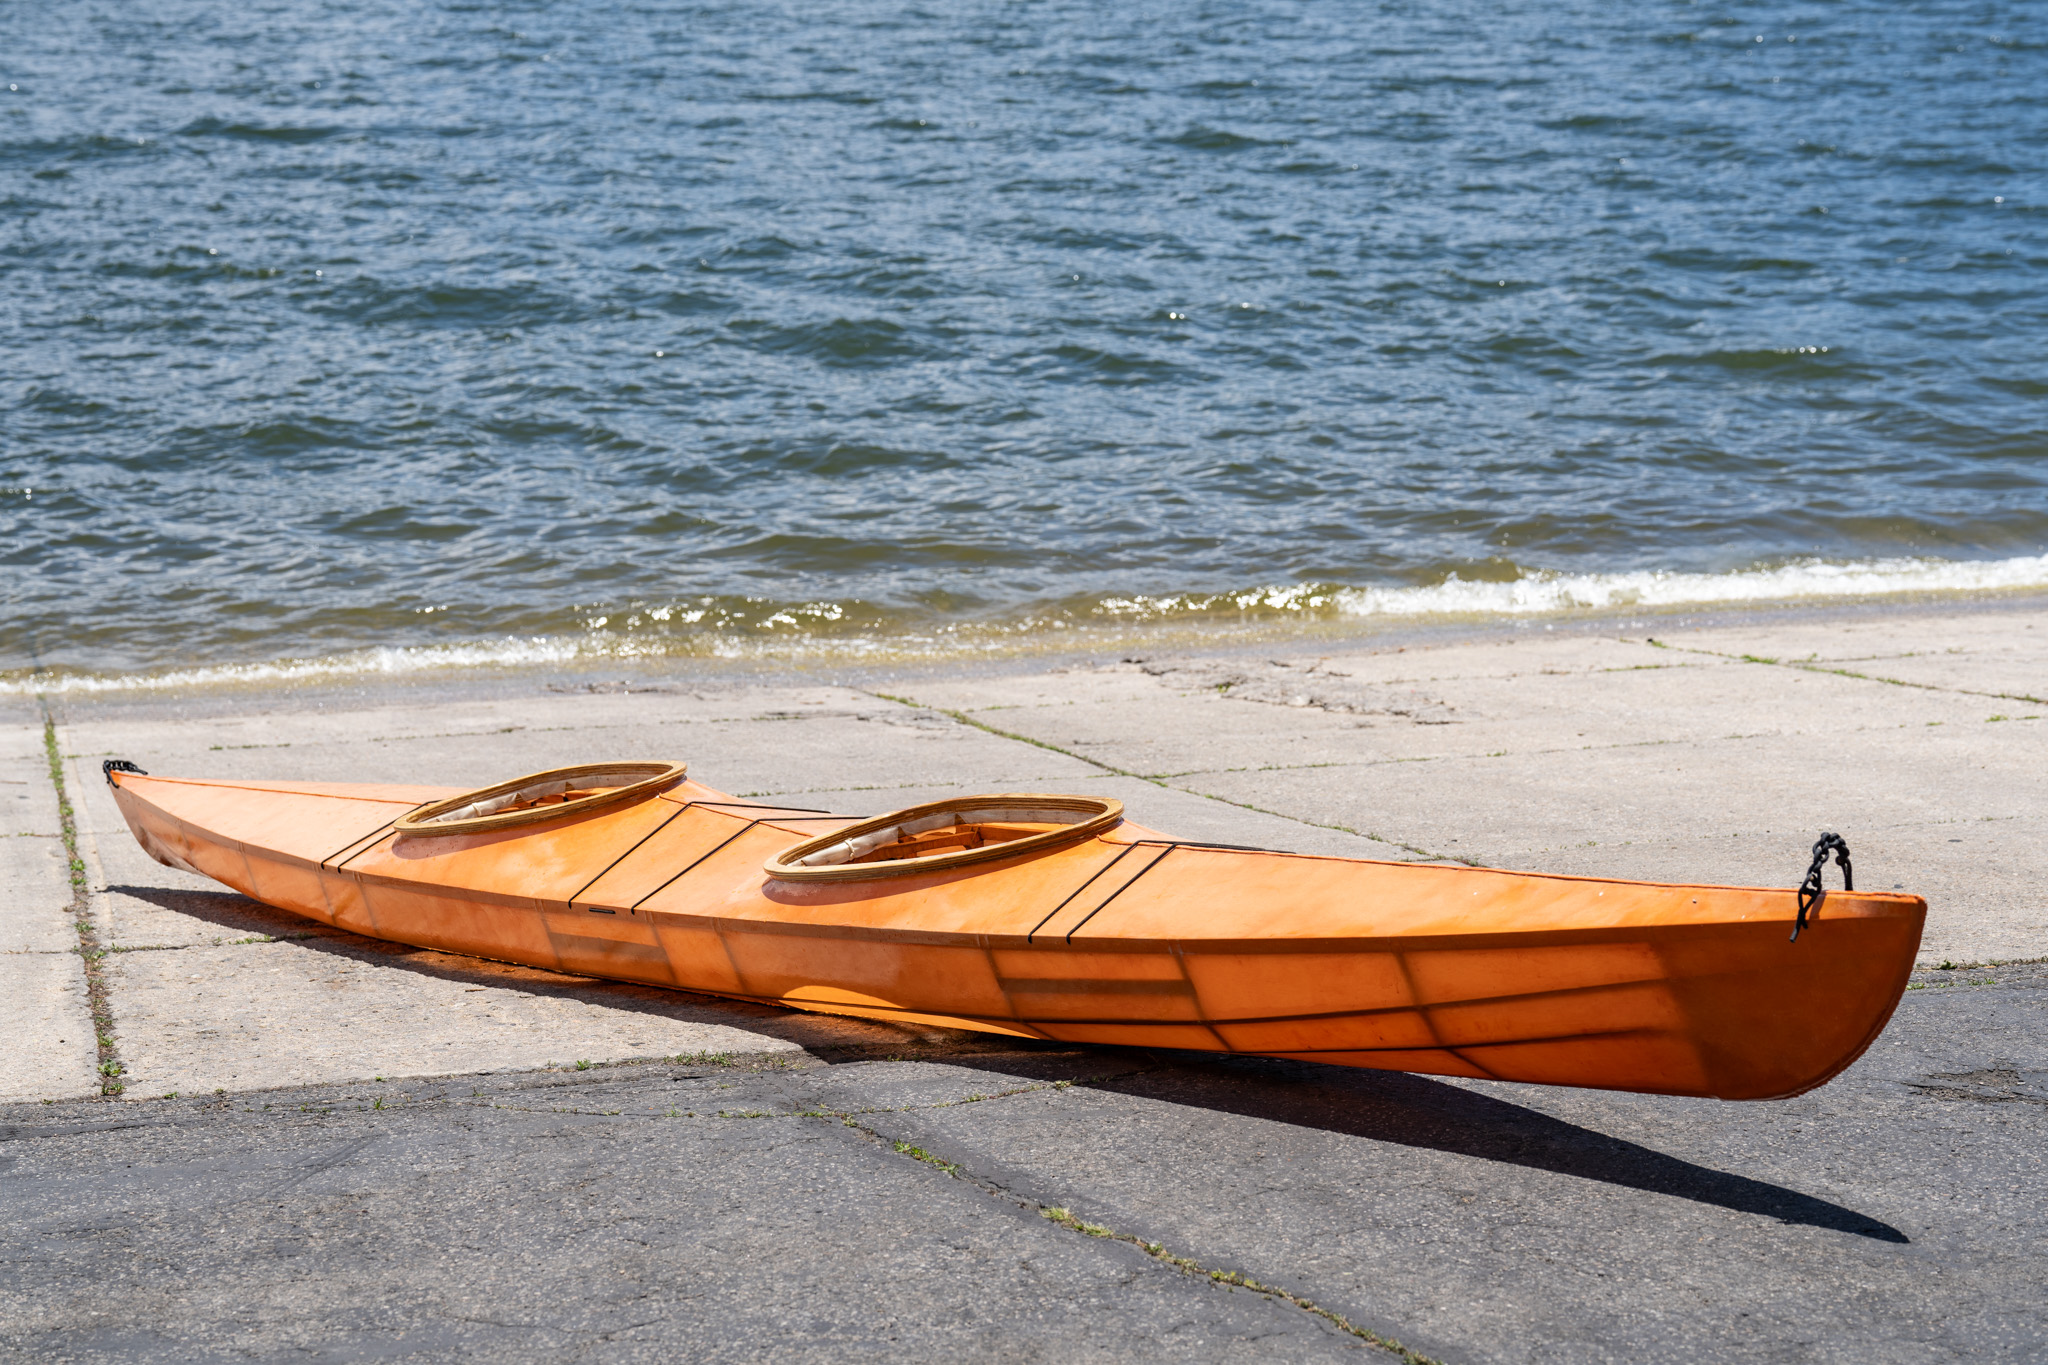
This started two years ago, when I first drew up the plans, since everything I found on the internet for skin-on-frame were single kayaks. Daphney wanted a tandem, so drafting was the only way. I modeled it after drawings of some fast tandems and tested buoyancy and stability curves on software. The project had fits…
-
Building a Playhouse
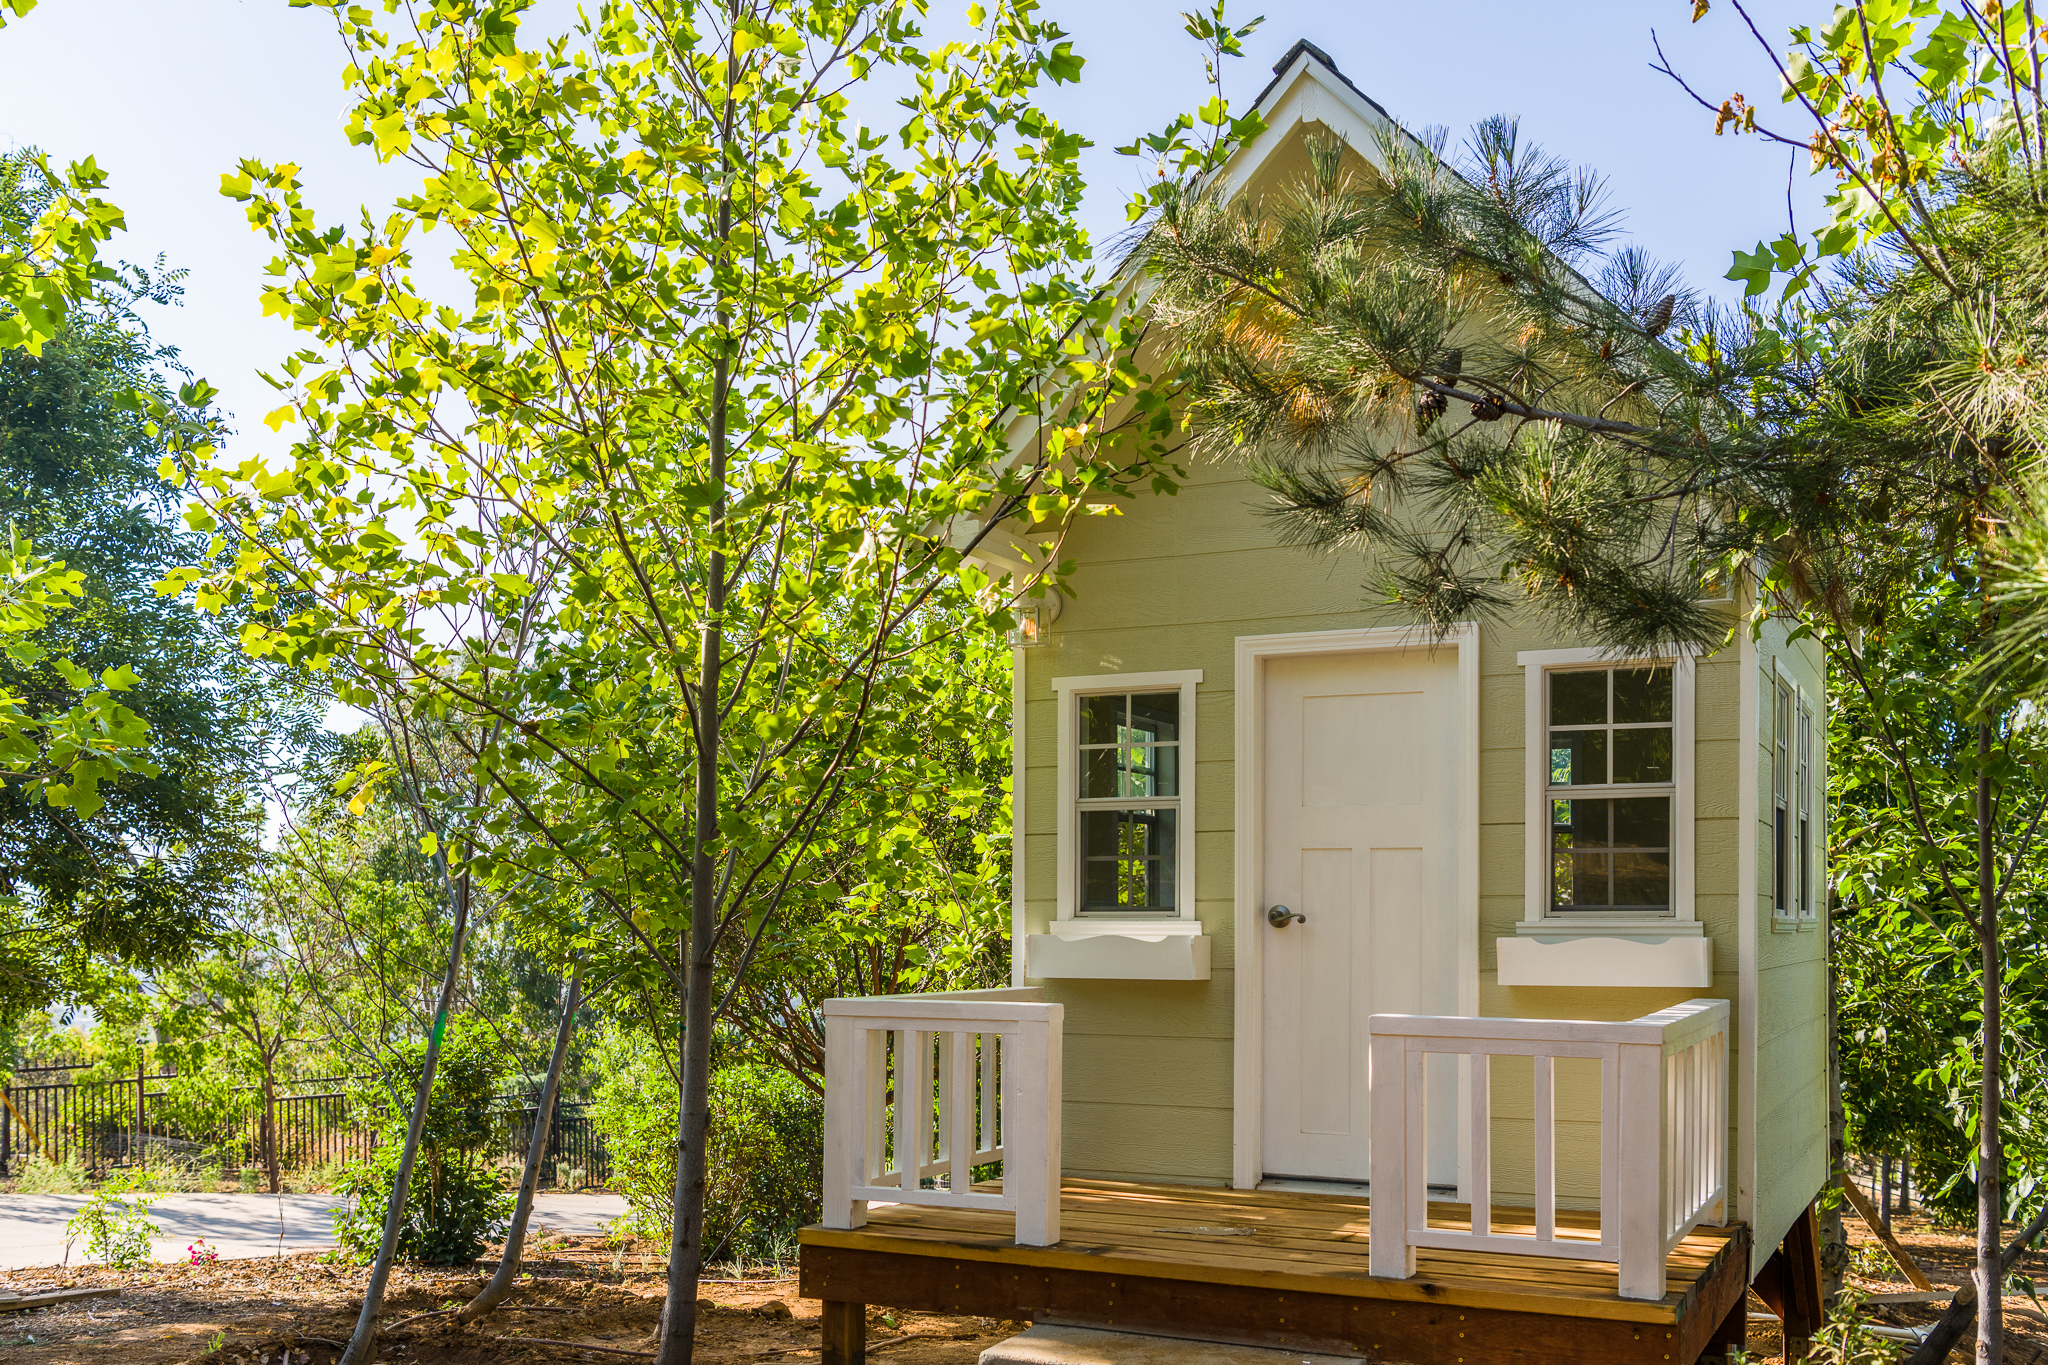
Two days after California’s statewide shelter-in-place order, I embark on a coronavirus home project. Little did I know that Lowe’s and Home Depot would see surges in their sales; everyone is doing the same thing. Earlier, Yan and I had perused many designs and plans. We settled on a design by Rogue Engineer, with modifications.…
-
Finishing the Rockers for the Cradle

When I first made the walnut and maple cradle, it took too long; any longer, and Daphney would have completely outgrown it. I didn’t have time to make rocking rails. With our second child on the way, I used more walnut and maple pieces to make the rails. For the supports, I dovetailed curved walnut…
-
Walnut and Maple Cradle
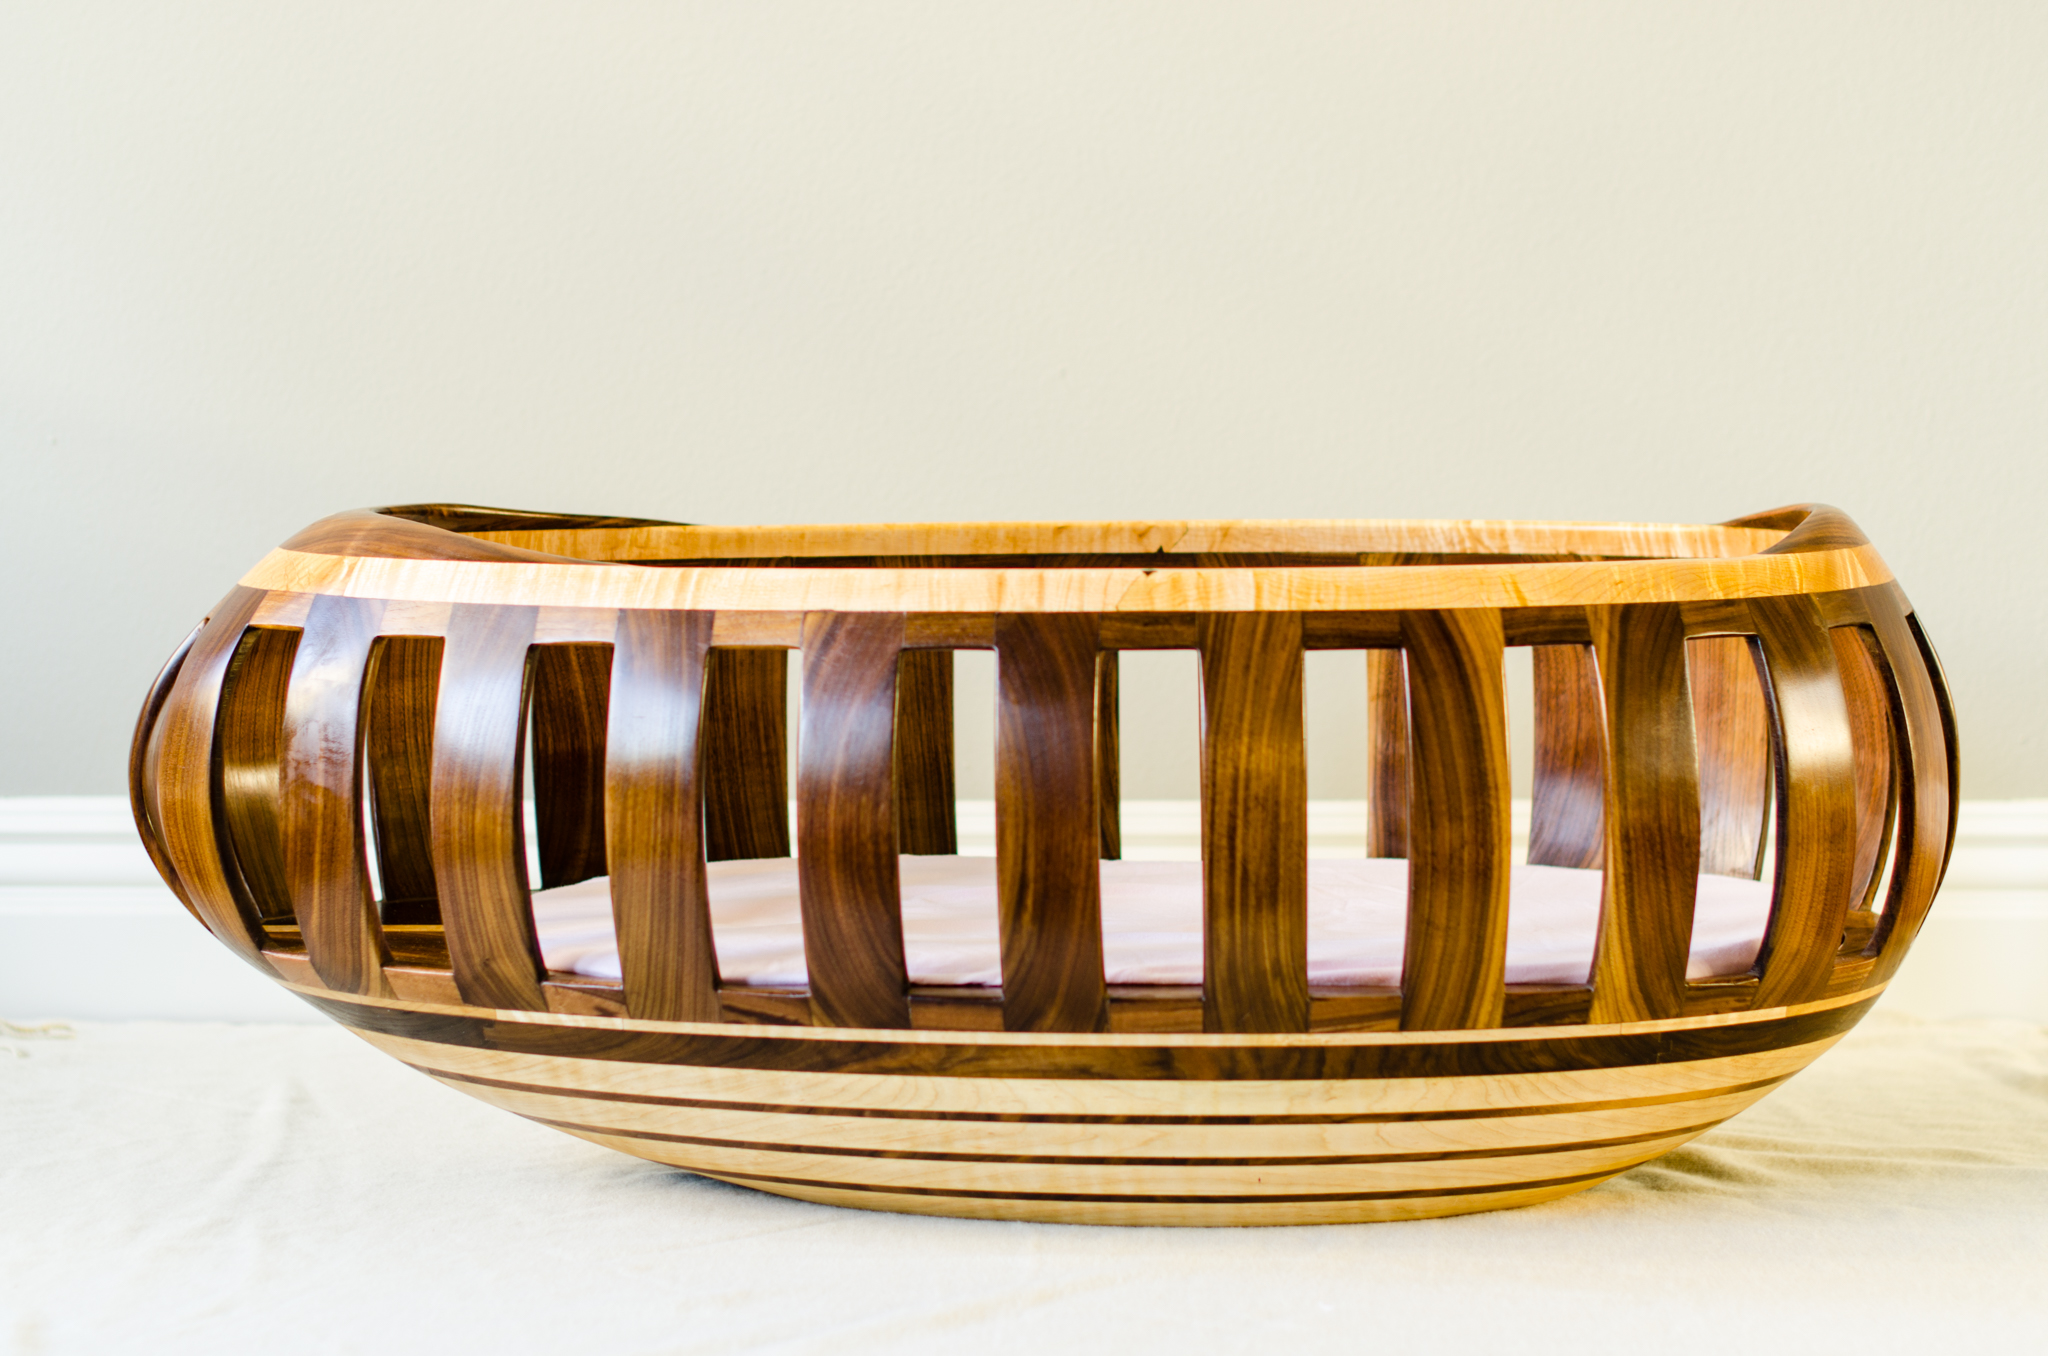
This project took a lot of planning. It all started out when Yan suggested that I make a cradle for the baby—a bassinet that can be handed off to the next generation as an heirloom. After giving some pushback, I finally accepted the project. Planning I scoured the internet for ideas, but finally, I settled…
-
Gazebo Seat Project
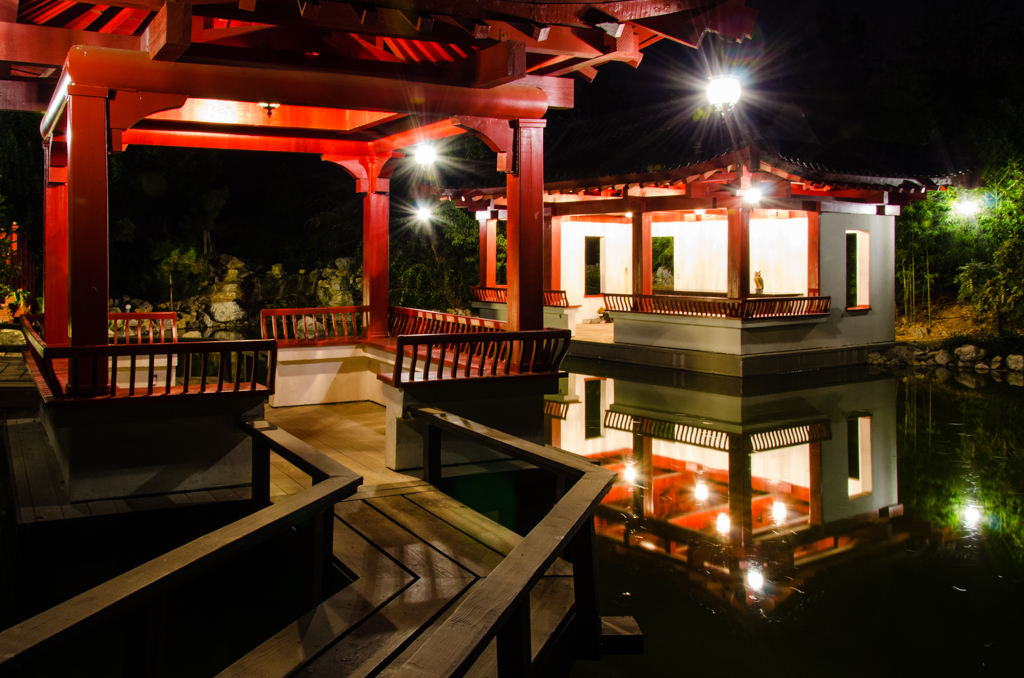
This second of three projects for the year (the first being the cabinet) was dragged out over too many months, but I’m so happy that the gazebo seats overlooking the pond are finally done: the designing, joining, sawing, assembling, painting, and cleaning. The lumber was a combination of maple for the seat bottom and poplar…
-
Cabinet Construction
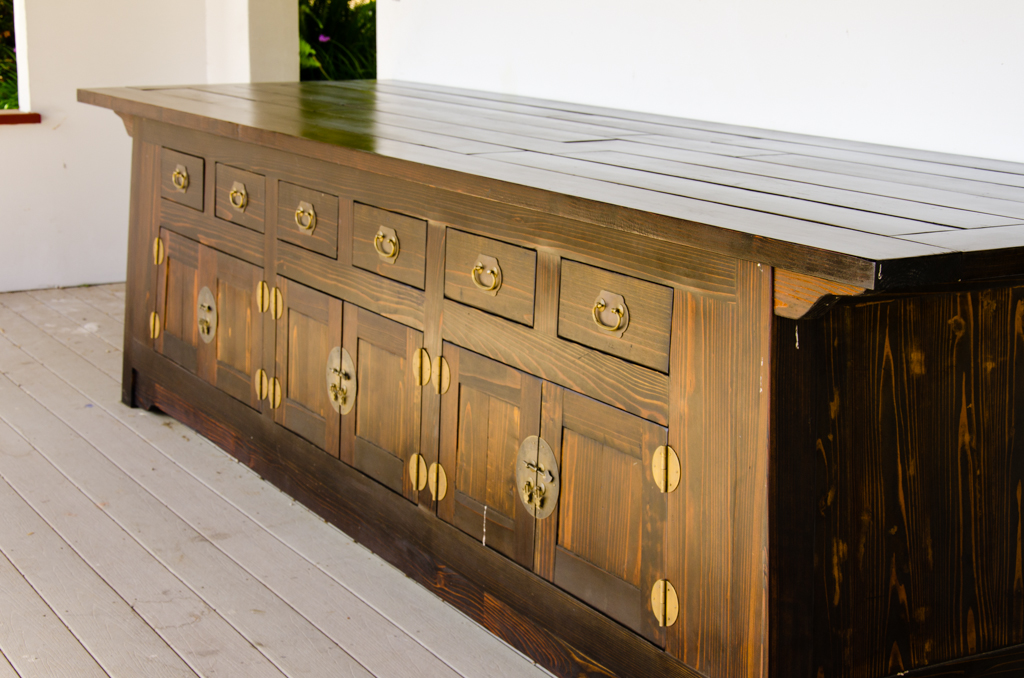
Of the three springtime building projects, this cabinet was the first to get done. The stairs down into the pond pump and filter vault needed to be concealed, and I thought a cabinet would both be functional and aesthetic. Starting in May, I bought some redwood lumber to supplement the scrap pieces that I already…
-
Guqin Construction
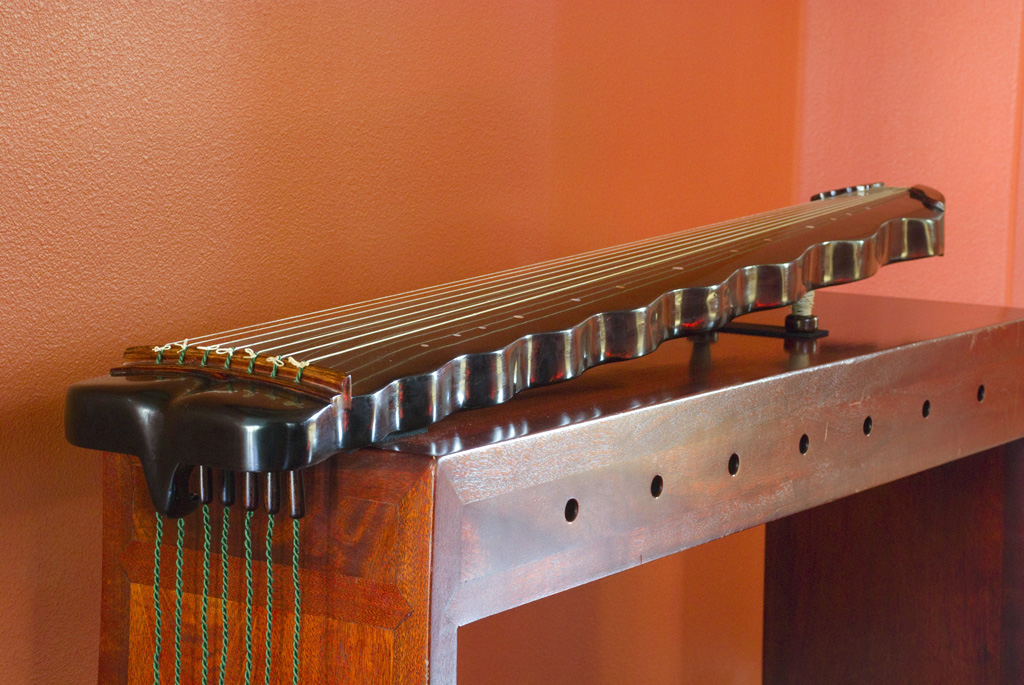
The guqin project is finished! It began with mathematically modeling the construction manual 與古齋琴譜 with a few of my adjustments. From start to finish, it spanned 144 days.
-
Guqin Tuning Cords and Completion
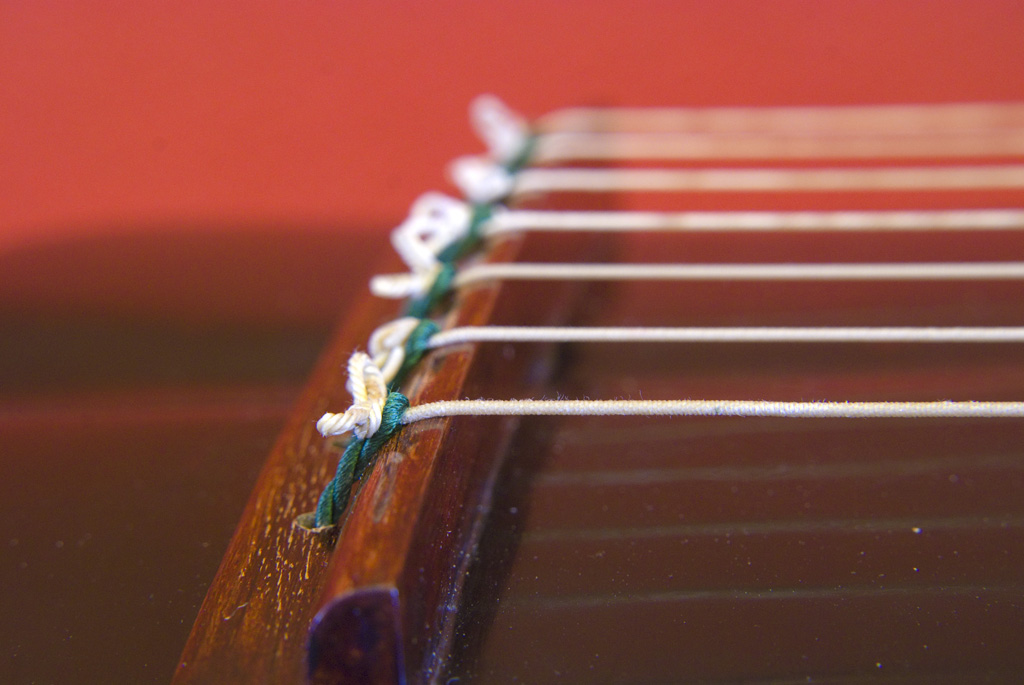
The tuning cords have been twisted and thread through the pegs. On one, I used modern steel/nylon strings, and on the other, I used silk strings. They sound very different, and I’m pleased with how both instruments turned out. Now, I have to try the pick-up system in the jiaoye guqin with the silk strings…
-
Guqin adjustments
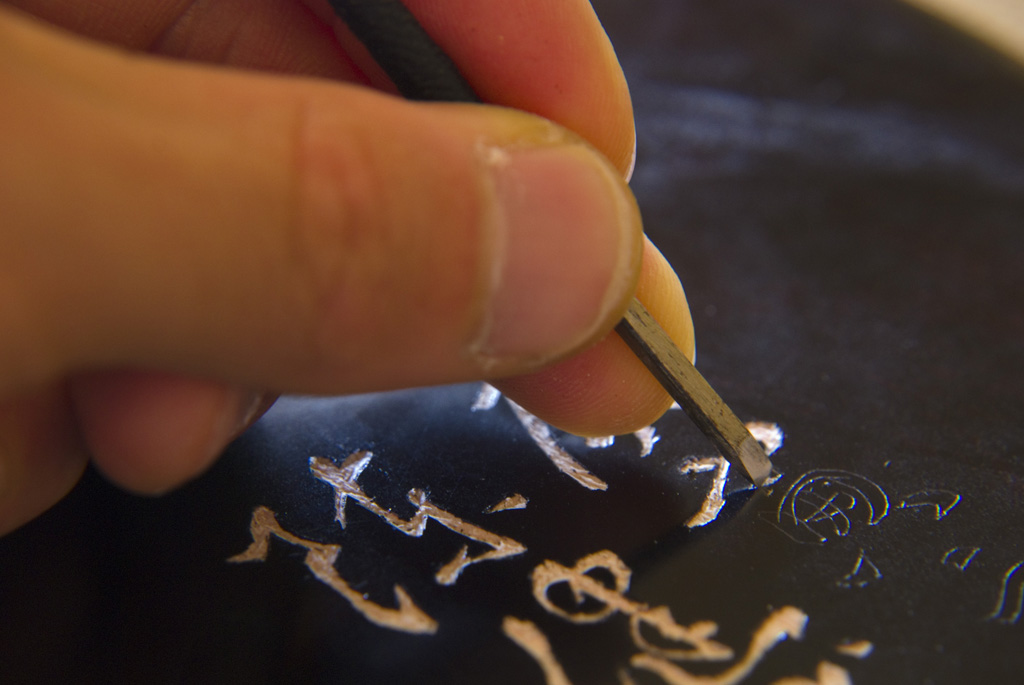
On the luoxia guqin, I carved some off the nut and lowered it so that the strings would be closer to the surface. This proved to be a good adjustment. Playing the instrument has been absolutely delightful. I refreshed my memory on some of my old repertoire. The first piece I played on it was…
-
Tuning the guqin
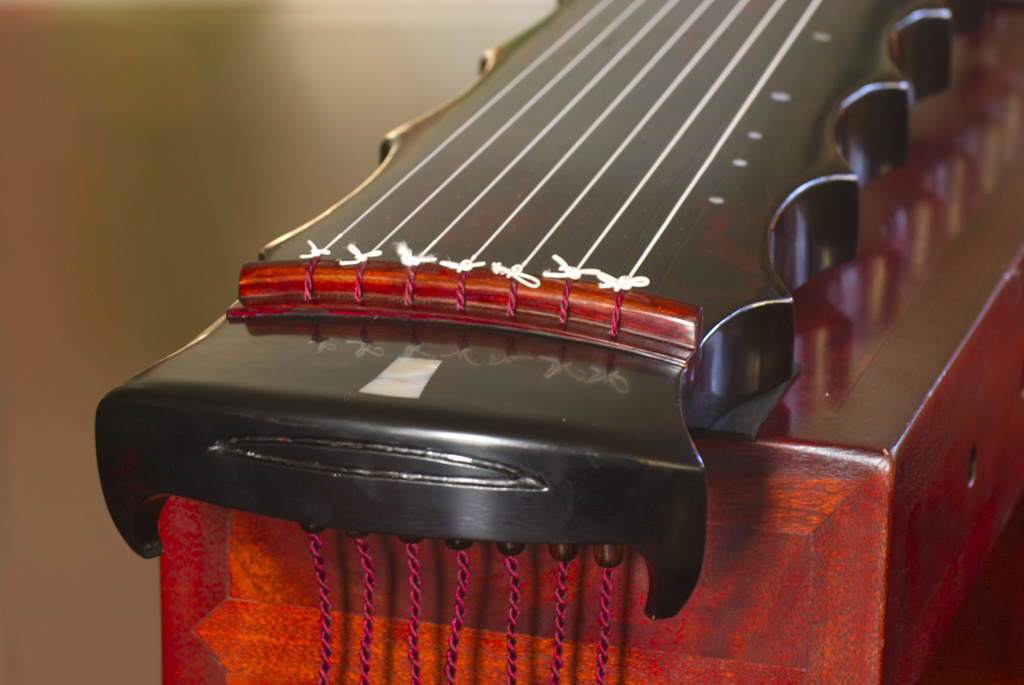
I’m basically done!!!!! And the experiment with the compound radius worked out well. The main aim in making the new instruments was to try to eliminate string buzz, and indeed, it’s gone. Making the tuning cords required some trial and error. I bought tread, and for this luoxia guqin, I mixed two colors—maroon and brown—to…
-
Inscribing the guqin
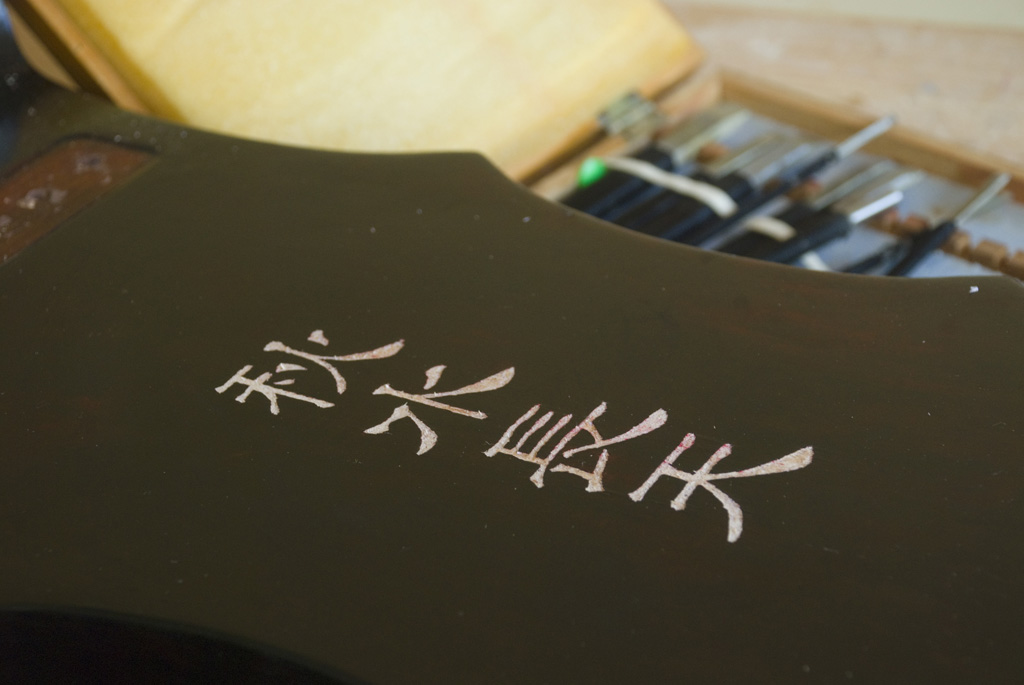
When I started this guqin project in February, I had no idea it would have taken this long. If I did, I most likely would have not embarked on it. For much of last week, I took a break from working on the instruments, since I was in San Diego at the American Orthopaedic Association…
-
Guqin naming
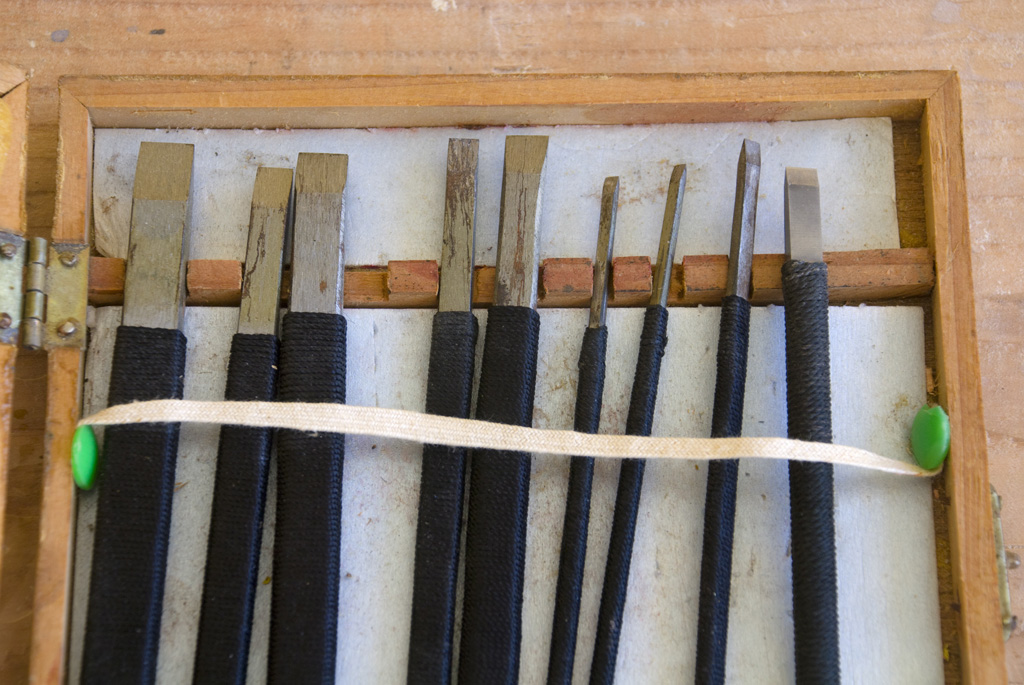
Progress in the guqin building project has been steady but slow. I had made and set the pearl inlay, and they all ended up looking very nice. Then, I applied many clear coats of finish. Also, I drilled holes for the tuning cords. This all took place last week. I have been apprehensive about doing…
-
Guqin pearl inlay
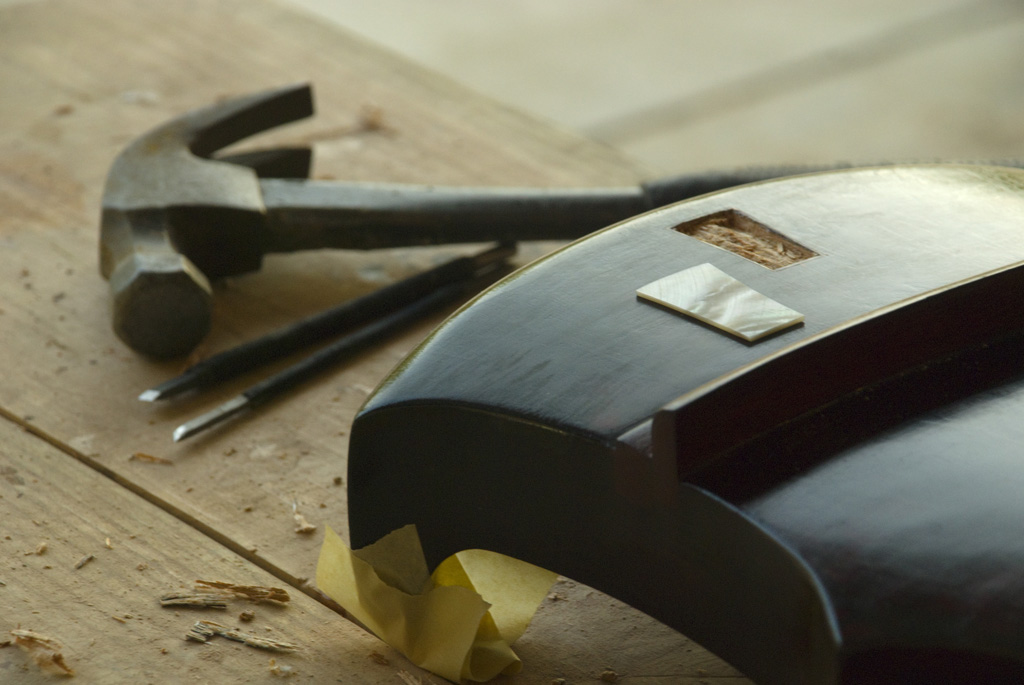
This past weekend, I worked on staining the second instrument. Because the shape of this second guqin is known as 落霞 (descending crimson clouds), I decided to color it brilliant red tossed in dark and stormy skies. Under the sunlight, some parts are like a rich burgundy. After getting the stain just right, I shaped…
-
Guqin sanding
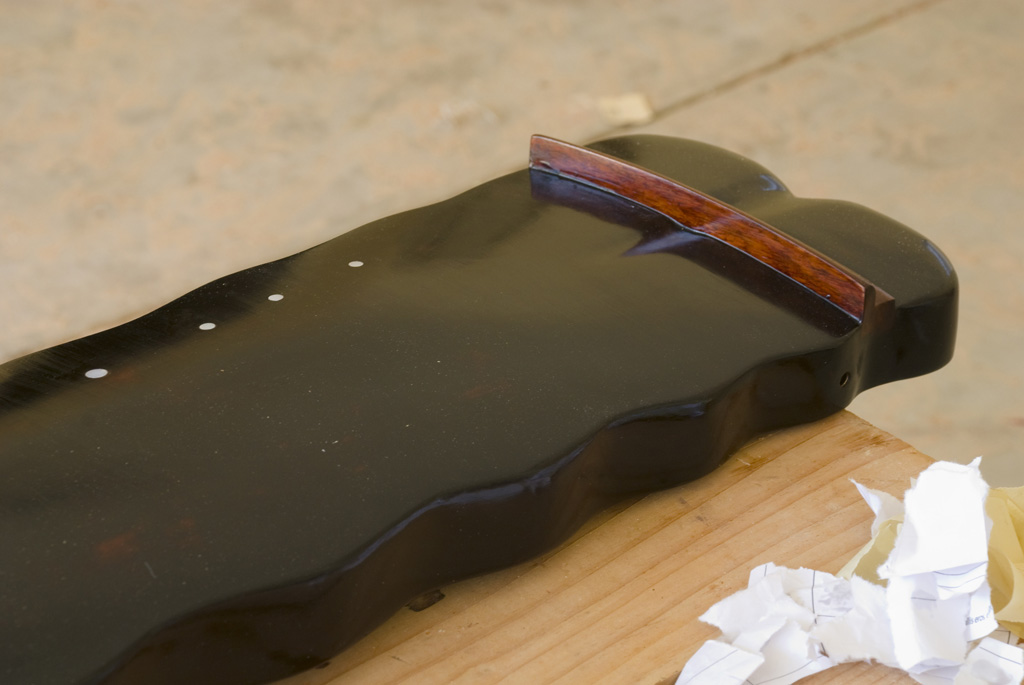
I reached another major step in the guqin construction project this past Sunday. While both of the instruments have been put together, I decided to sand and finish one of them first—partly to experiment and make sure it turns out well. Applying color was tricky, because it was easy to accidentally remove the color while…
-
Applying the guqin coating
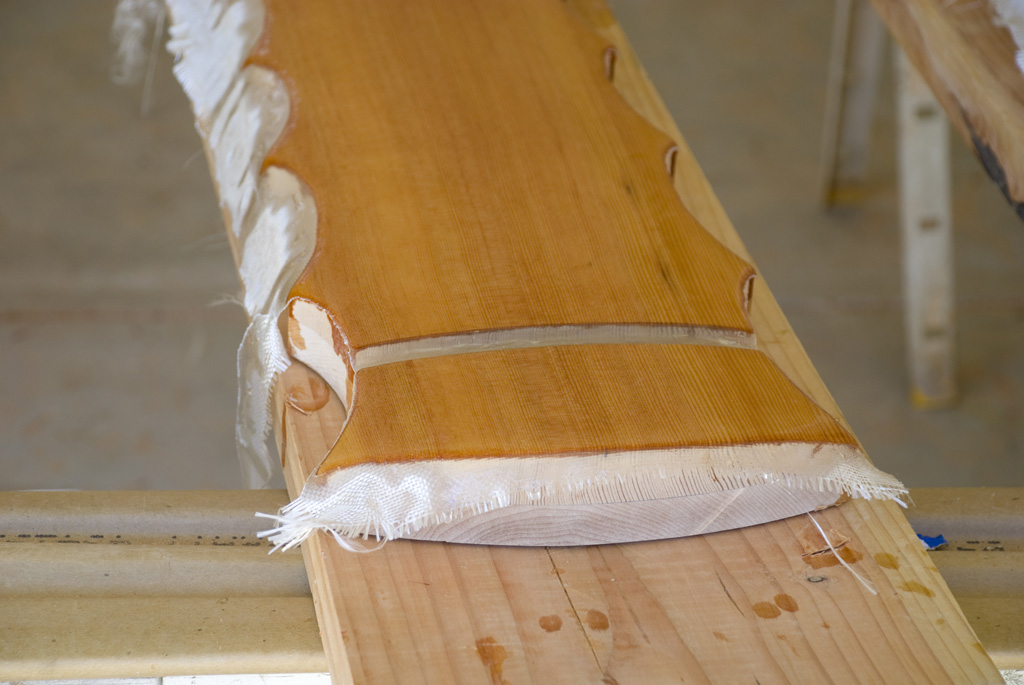
I finally finished all the sawing, routing, planing, and chiseling for the guqin parts—except for the tuning pegs. It feels good to have reach this stage, as the next steps mainly involve assembling and finishing. Most luthiers adhere to the traditional technique of applying coats of lacquer from the varnish tree (Toxicodendron vernicifluum). The toxic…
-
Guqin assembly
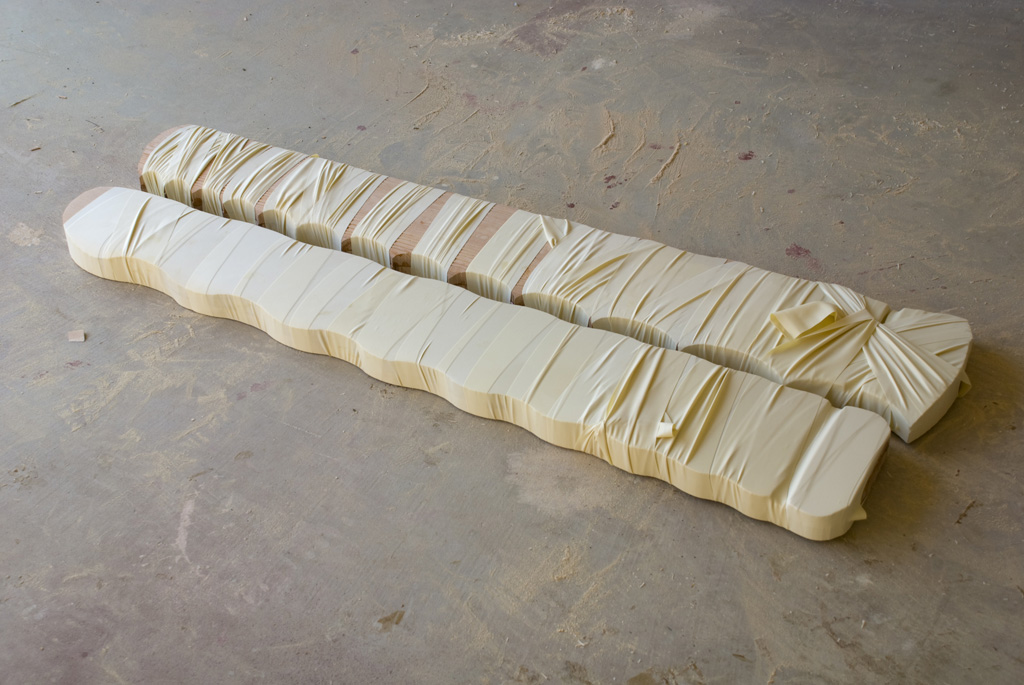
Today was a major milestone in the guqin construction project. Between work and being away to the Association of Bone and Joint Surgeons in Washington, DC, I hadn’t had much time to work on the pair of guqin. I spent much of this week catching up, and I got home earlier than expected this afternoon.…
-
Guqin bottom panel
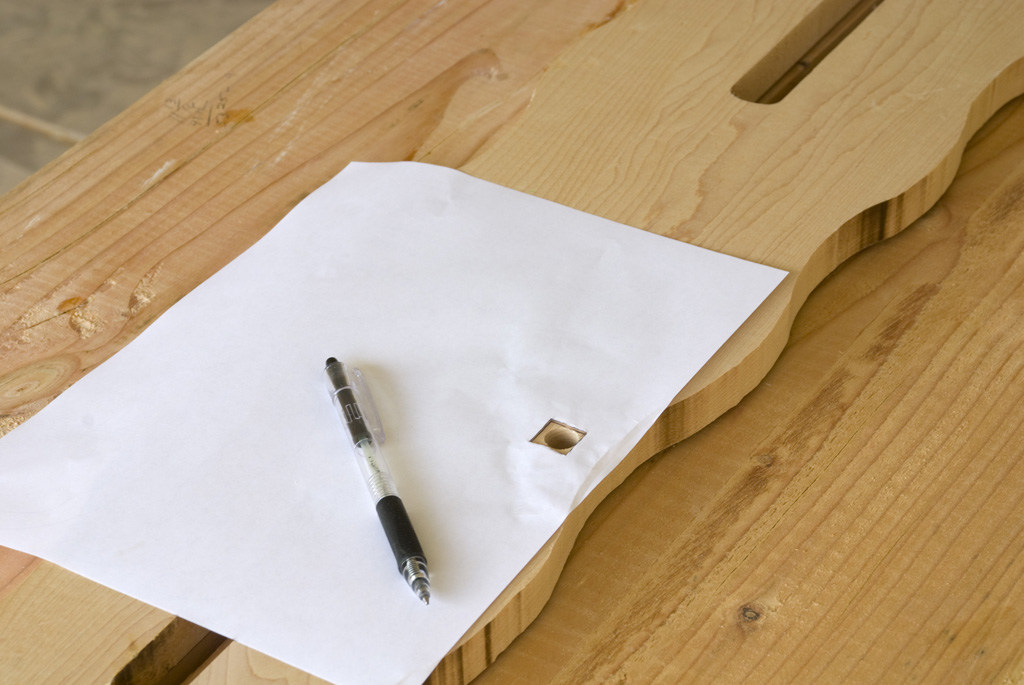
Guqin construction has been extremely slow. I carved out the peg pool last week. I also started cutting the holes for the feet. First, I drilled pilot holes. Then, I have to convert the round holes into square ones, which is why it’s taking so much longer. This afternoon, I started but didn’t get very…
-
Guqin peg pool
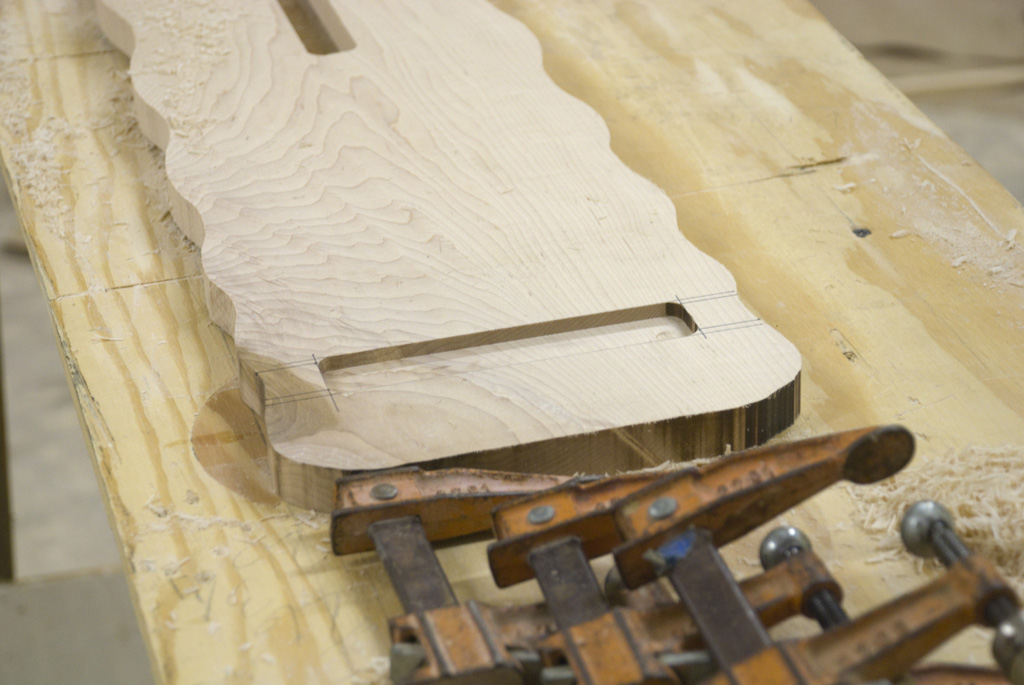
It’s been quite some time since I’ve worked on the instrument. Between going to the American Academy of Orthopaedic Surgeons convention in New Orleans the previous week and becoming sick two days after getting back in town, and having been on call for the past week, I didn’t get a chance. Resuming work on the…
-
Guqin panels
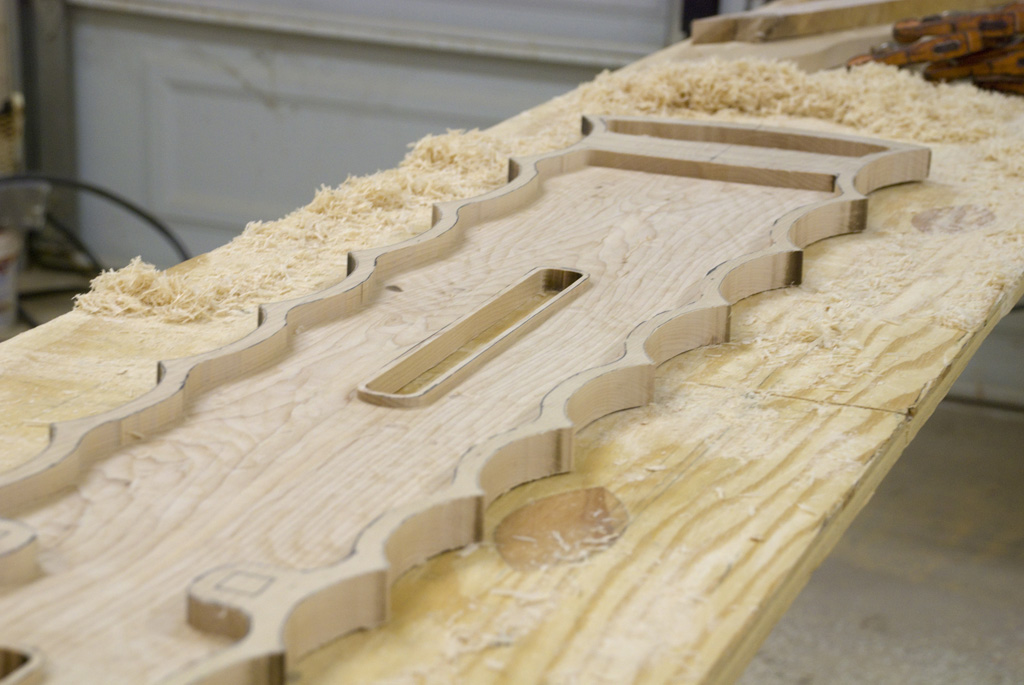
This evening, I reached another milestone in guqin-making. For the bottom panel, I had roughly cut out the outlines on a maple board with a jigsaw and finished the finer cuts with a router. Then, I finished carving out the inside. Now, the top and bottom pieces fit nicely together. Basically, the major shaping is…
-
Hollowing the guqin top
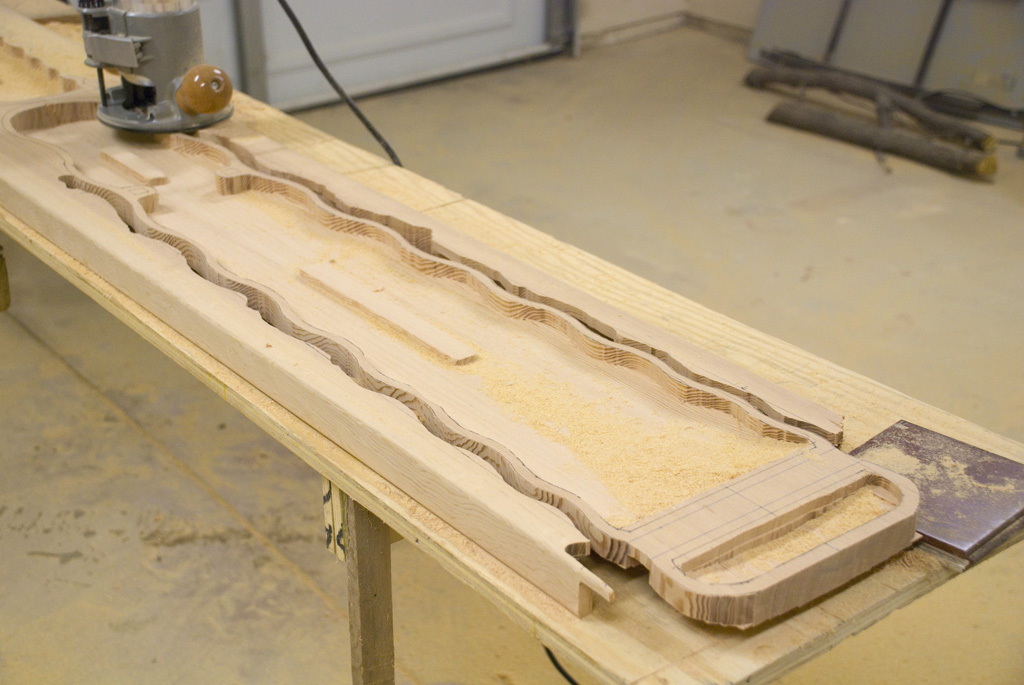
Today was a milestone in the guqin-making endeavor. After preliminarily hollowing out the inside of the top, I sanded the concavity. Then, I cut around the entire outline of one of the guqin and freed it from the original board. The next step is to plane and sand the convex upper side of the top…
-
Inspired to recreate the guqin
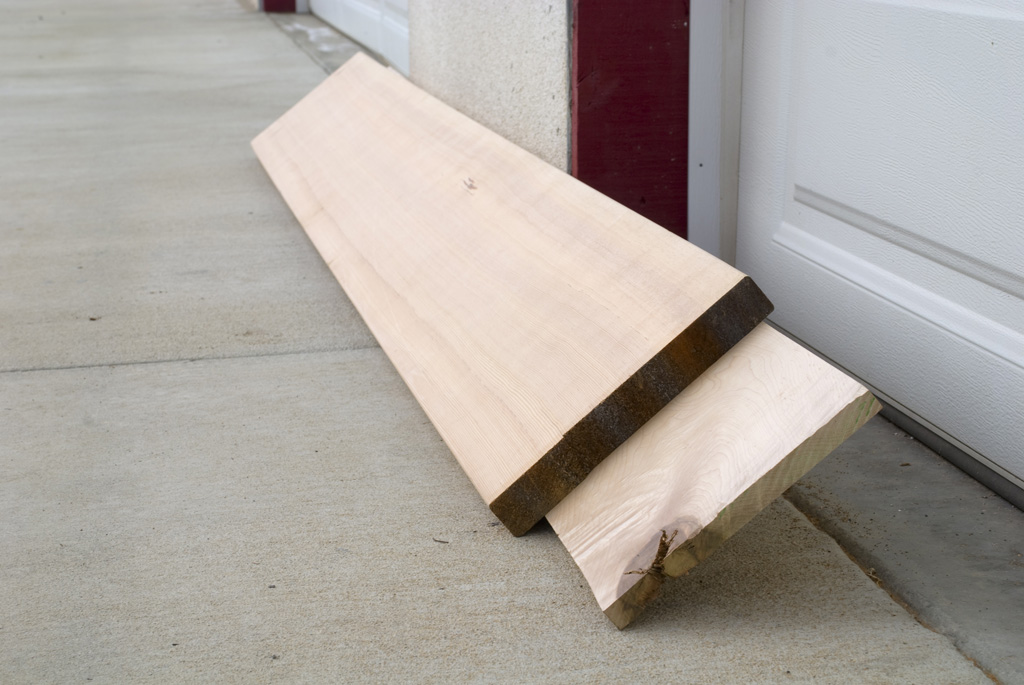
For the last month, I’ve been practicing the guqin 古琴 a little more. In time for the Prunus mume that opened and faded, I finished learning 梅花三弄 (Three Variations on the Plum Blossom). Now, I’m working on 流水 (Flowing Water), which is significantly more difficult. Anyways, I got inspired to make another guqin. The one…
-
Kayak Building
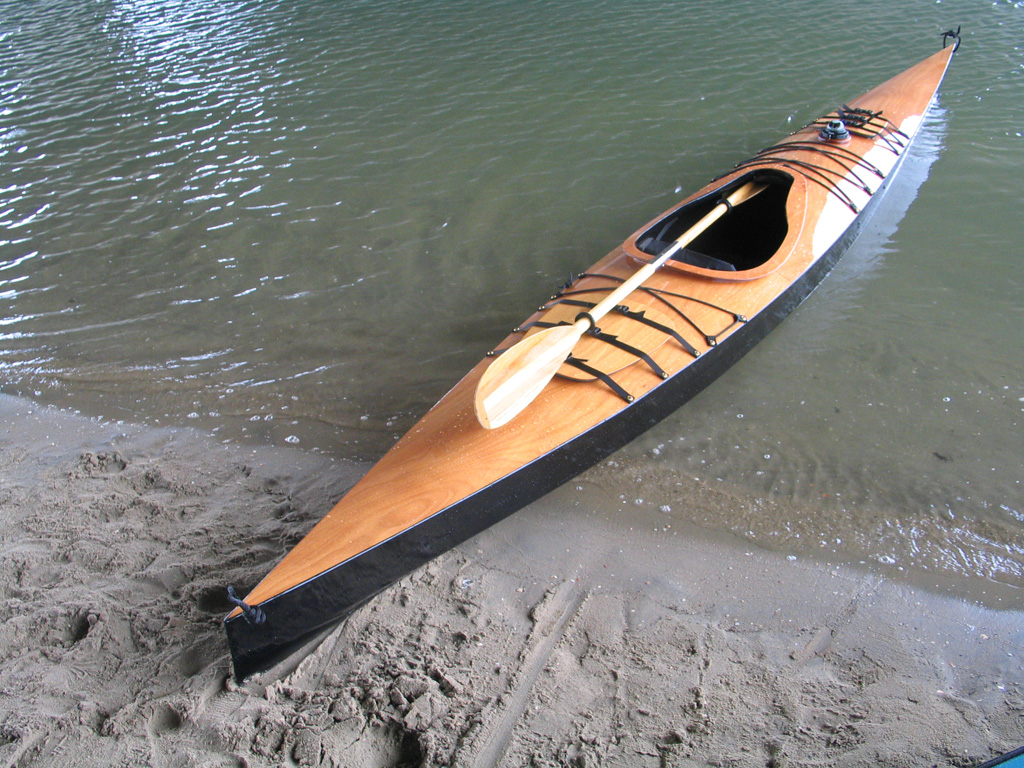
After looking at a number of designs, I got lumber and other supplies from Chesapeake Light Craft. Building the kayak took about a month. The most difficult part was in trying to get the epoxy resin and fiberglass to go on without bubbles or wrinkles. Taking it out on the water for the first time…