This project took a lot of planning. It all started out when Yan suggested that I make a cradle for the baby—a bassinet that can be handed off to the next generation as an heirloom. After giving some pushback, I finally accepted the project.
Planning
I scoured the internet for ideas, but finally, I settled on the plan for an egg-shaped cradle. The egg is a good symbol for the beginning of life, and its simple yet elegant form entices me to create it. After experimenting with equations, I settle on this formula for the shape profile, which is based on the general ellipse equation—long axis: 


First was the design, and per Yan’s suggestion, I found an appropriate oval mattress. From that, I fashioned the cradle around the mattress. I decided to assemble slats around a slab mattress base, and the slats would radiate around the curve of the egg, so that they would be tangent at each point. Then, there would be a curved base under the mattress, where there would be a compartment that could serve as a time capsule. Applying math to the idea by spinning the egg function along the x axis and making cross sections, I generated graphs for cutting templates.
Building
The project then required trips to Peterman Lumber. Initially, I hadn’t decided on what wood to use, but since there were large slabs of walnut on sale, I decided to work with that.
Part of my goal in this project was to experiment with pertinent woodworking joints. The pieces holding the mattress employed tongue and groove joints. Then, the slab insets were a variation of the mortise-tenon. To ensure a strong top rim, I employed the locked squinted-butt scarf joint. This was fun to make.
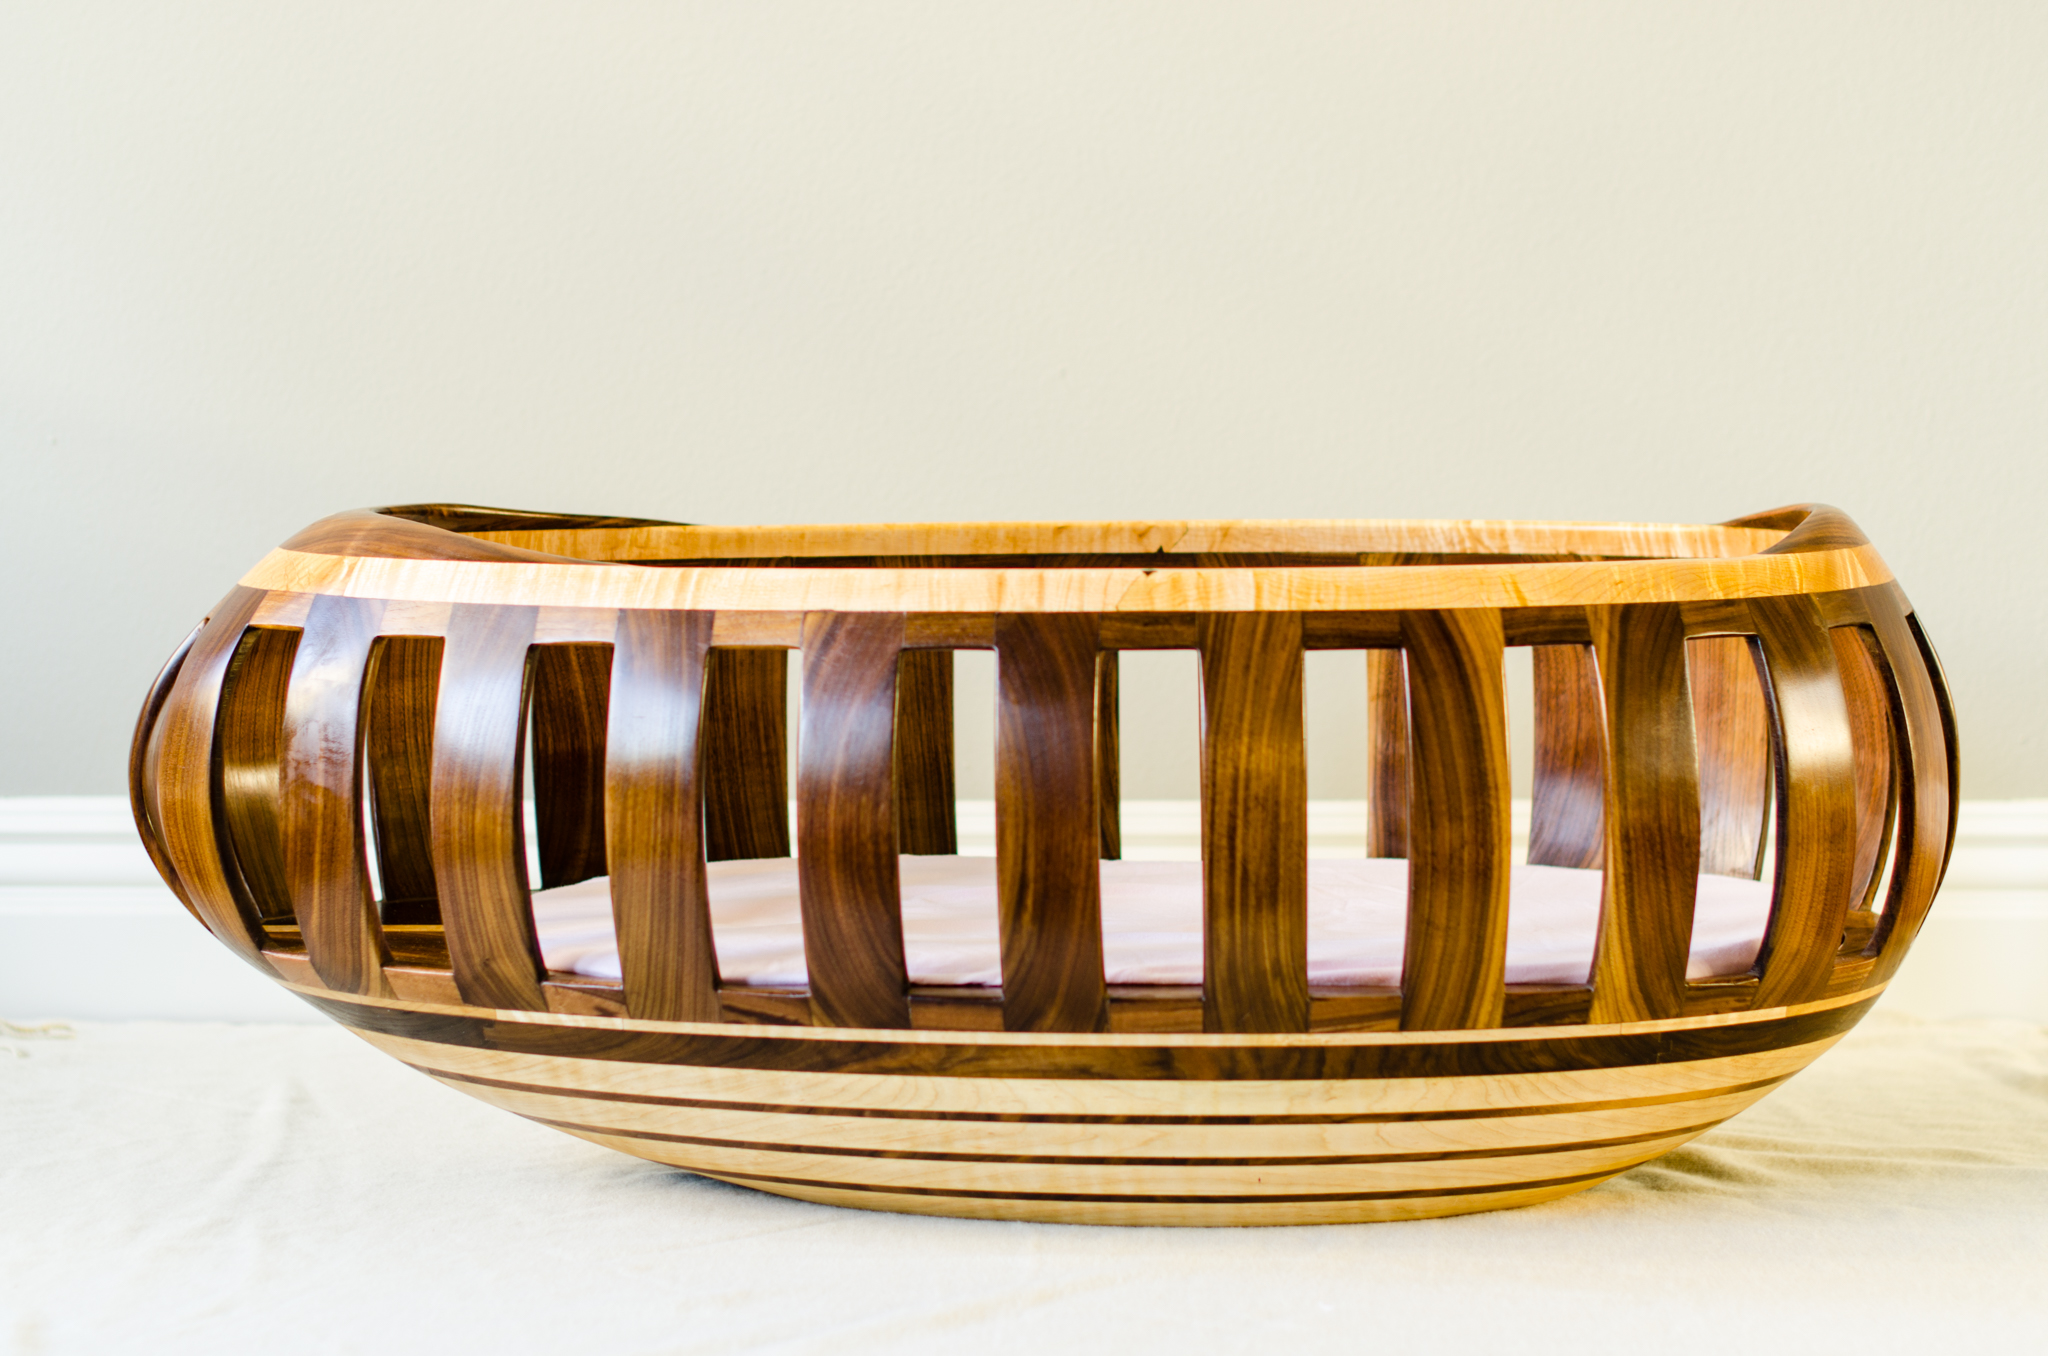
One of the most challenging parts was cutting the splats. Situated along the sides of the cradle, each piece had a different curvature, and this was so that they would fit the egg-shaped profile. Some of these slats required a twist, so they were cut out from blocks of walnut using the band saw and individually carved to match the graphed template.
Finishing
The finishing process was painstaking. I had decided to use a natural finish, and there is no other finish more traditional and classic than a hand-rubbed tung oil finish. Natural tung oil takes a long time to cure. First, meticulous sanding provided a smooth base for the oil. Then, each oil layer required days to cure. With light sanding between oiling, the finishing process took a few weeks.
Finally, I finished the project. Daphney is now nearly three months. She seems to enjoy it, and her smiles make the project so worth the effort.


